Apple season brings out the best in nostalgic desserts, and few recipes embody this sentiment quite like Old Fashioned Apple Crisp. I still remember the first time I pulled a bubbling dish of apple crisp out of my grandmother’s oven, filling the kitchen with that unmistakable aroma of baked apples and cinnamon. This classic dessert isn’t just a treat; it’s a warm, comforting reminder of home and togetherness. Whether it’s a cozy weeknight dinner or a festive holiday gathering, apple crisp is always a hit. Let’s dive in and discover why this recipe deserves a prime spot in your home kitchen.
Why You’ll Love This Dish
What makes Old Fashioned Apple Crisp stand out? For starters, it’s incredibly simple and quick to prepare, making it a great option for both novice cooks and seasoned bakers. With just a few key ingredients that are often already on hand, you can whip up this dessert in no time. It’s budget-friendly, too, making it perfect for families looking to create delicious memories without breaking the bank.
This dessert shines particularly well during fall harvest season when apples are at their peak. It’s ideal for a family brunch, a cozy dessert after dinner, or even for potluck gatherings.
"This apple crisp is a game changer! The apples are perfectly sweet and spiced, and the crumbly topping is just divine." – A happy home baker.
Step-by-Step Overview
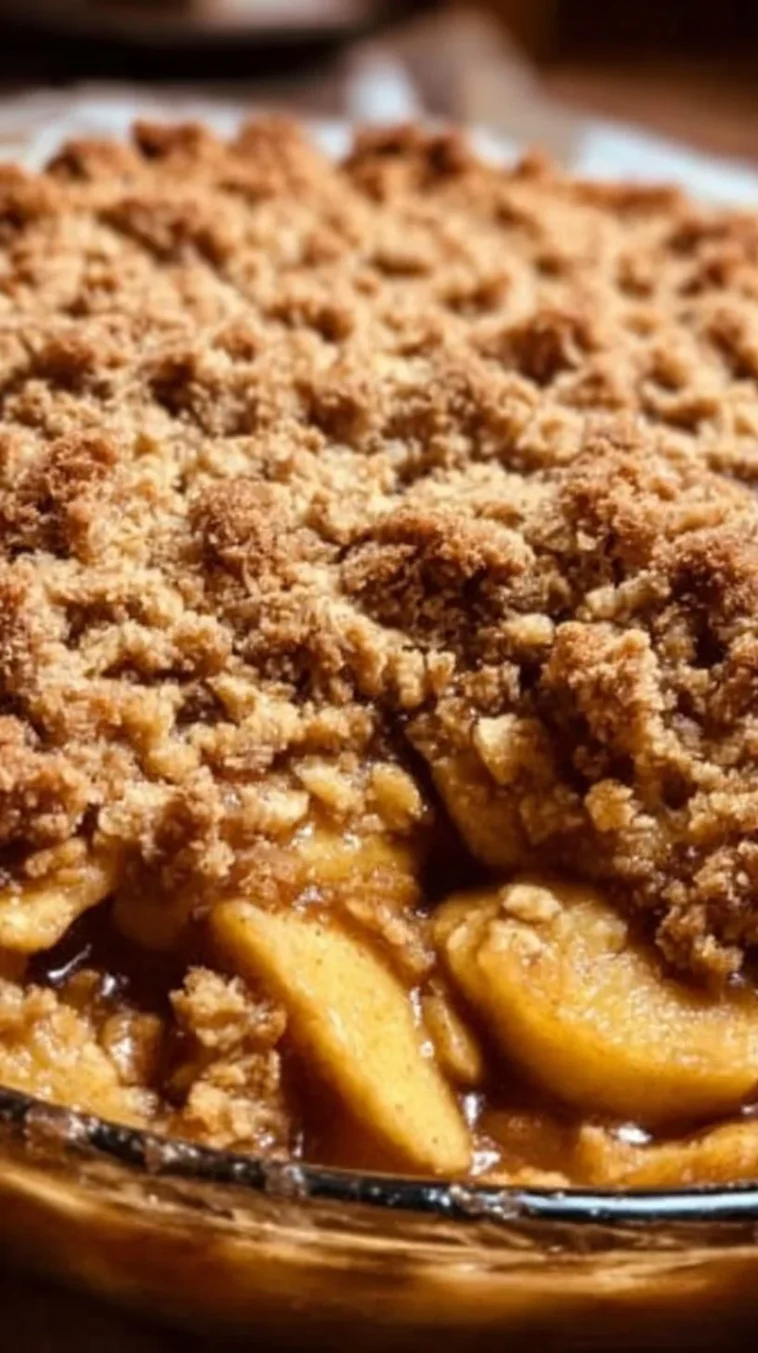
Creating an Old Fashioned Apple Crisp is a straightforward process, perfect for anyone looking to create a dish that feels both homey and indulgent. You’ll start by preparing the apple filling with a blend of spices, sugar, and a hint of lemon for brightness. Next, you’ll mix together the oat topping that gives that delightful crunch. Finally, everything bakes until golden brown and bubbly, filling your kitchen with an irresistible scent.
What You’ll Need
To make this delightful dessert, gather the following ingredients:
- 6–7 medium apples (Granny Smith, Honeycrisp, or a mix)
- 1/2 cup granulated sugar
- 1 tsp cinnamon
- 1/4 tsp nutmeg (optional)
- 1 tbsp all-purpose flour
- 1 tsp lemon juice
- 3/4 cup old-fashioned rolled oats
- 1/2 cup all-purpose flour
- 1/2 cup brown sugar (light or dark)
- 1/2 tsp cinnamon
- 1/4 tsp salt
- 1/2 cup unsalted butter, cold and cut into small cubes
You can swap the apples for your favorites or even mix in some berries for a unique twist!
Directions to Follow
- Preheat the Oven: Begin by preheating your oven to 350°F (175°C).
- Prepare the Apples: Peel, core, and slice your chosen apples into thin pieces. Place them in a large mixing bowl.
- Add Flavor: Toss the apple slices with granulated sugar, cinnamon, nutmeg (if using), all-purpose flour, and lemon juice until all the slices are evenly coated.
- Arrange the Filling: Transfer the apple mixture into a greased 9×13 inch baking dish.
- Make the Topping: In another bowl, combine the rolled oats, flour, brown sugar, cinnamon, and salt.
- Mix in Butter: Add the cold butter cubes to the dry mixture. Using a pastry cutter or your fingertips, blend until it resembles coarse crumbs.
- Top the Apples: Evenly sprinkle the oat topping over the apple filling.
- Bake: Bake in the preheated oven for 40-45 minutes, or until the topping is golden brown and the apple filling is bubbling.
- Cool and Serve: Allow the apple crisp to cool slightly before serving. Enjoy warm, optionally topped with vanilla ice cream or whipped cream.
Best Ways to Enjoy It
Serving your apple crisp can be as fun as making it. A classic choice is to serve it warm from the oven with a generous scoop of vanilla ice cream or a dollop of whipped cream. Consider pairing it with caramel sauce for an extra sweetness or even a sprinkle of nuts for delightful texture.
For a rustic touch, serve it in individual ramekins. This creates an inviting presentation and makes it easy for guests to enjoy their own serving.
How to Store & Freeze
To keep your leftovers fresh, allow the apple crisp to cool completely before covering it with plastic wrap or transferring it into an airtight container. It can be stored in the refrigerator for up to 3-5 days. For longer storage, consider freezing the baked apple crisp. Allow it to cool, then wrap it tightly in foil or plastic wrap. It can be frozen for up to three months. When you’re ready to enjoy it again, simply reheat it in the oven until warm.
Helpful Cooking Tips
- Use a Variety of Apples: Mixing different types of apples, like tart and sweet varieties, will add depth to the flavor.
- Make it Ahead: You can prepare the apple filling and topping separately in advance, allowing for a quick assembly just before baking.
- Check for Doneness: If your crisp isn’t bubbling yet after 45 minutes, give it a few more minutes. The crisp is ready when the fruit is soft and the topping is golden.
Creative Twists
Feel free to get creative with your apple crisp! Here are some variations to consider:
- Add Nuts: Stir in chopped pecans or walnuts into the topping for an added crunch.
- Spice it Up: Experiment with different spices, like ginger or allspice, to give it a unique flavor twist.
- Berry Delight: Mix in a handful of fresh or frozen berries with your apple mixture for a colorful and flavorful addition.
Your Questions Answered
How long does it take to prepare?
The prep time for this Old Fashioned Apple Crisp is roughly 15-20 minutes, with a baking time of 40-45 minutes.
Can I use different fruits?
Absolutely! This apple crisp can easily be adapted with your favorite fruits. Try pears, peaches, or mixed berries for a seasonal twist.
How should I reheat leftovers?
Reheat in the oven at 350°F (175°C) for about 15 minutes, or until warmed through. You can also microwave individual portions for convenience.
Let this Old Fashioned Apple Crisp become a beloved recipe in your home, offering comfort and joy with each bite. Enjoy baking, and don’t forget to share with loved ones!