A Decadent Indulgence You Can Master
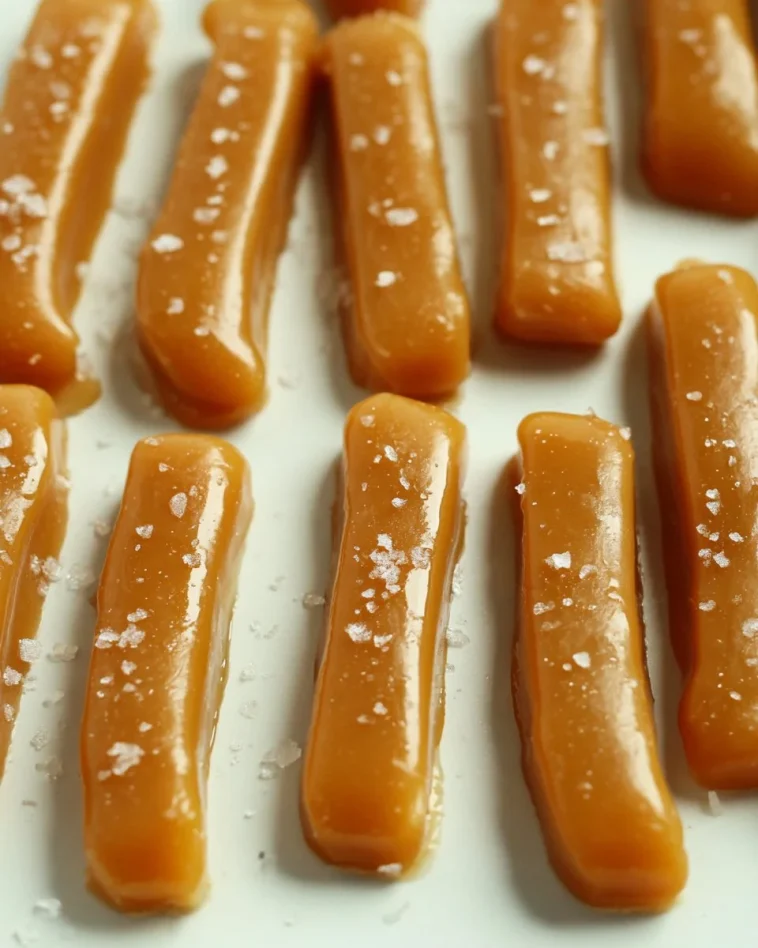
As the temperature drops and the holidays approach, there’s nothing quite like the warm, comforting taste of homemade salted caramels. This delightful treat melts in your mouth, balancing rich buttery flavors with the delightful bite of coarse sea salt. I remember the first time I made these caramels; the aroma filled my kitchen, and I couldn’t resist sneaking a piece before they even had a chance to cool completely! Making your own salted caramels at home not only feels rewarding, but offers a memorable indulgence for any occasion.
Reasons to Try This Tempting Recipe
The beauty of homemade salted caramels lies in their simplicity and versatility. You’ll love this recipe because it’s not only easy to follow but also budget-friendly compared to store-bought versions. Plus, the ingredients are familiar staples you might already have in your pantry. Perfect for family gatherings, gift-giving, or just a cozy night in, these caramels add a special touch to any moment.
“These homemade salted caramels are without a doubt the best I’ve ever tasted! Rich and buttery, with just the right amount of salt. I’ll never buy store-bought again!” — Happy Home Cook
How This Recipe Comes Together
The process of making salted caramels can be broken down into a few simple steps. From combining your creamy ingredients to watching the mixture bubble and transform into a luscious caramel, this recipe is as enjoyable to make as it is to eat. Just be sure to have your candy thermometer ready—precision is key in achieving the perfect texture.
What You’ll Need
- 1/2 cup unsalted butter, sliced into 8 pieces
- 1/2 cup heavy whipping cream
- 3 tbsp. water
- 1/4 cup light corn syrup
- 1 cup granulated sugar
- 1/2 tsp. coarse sea salt
These ingredients come together to create that delightful sweet-and-salty combination that makes salted caramels irresistible. You can swap the heavy cream with coconut cream for a dairy-free alternative, or play around with different types of salt for unique flavor profiles.
Step-by-Step Instructions for Making Salted Caramels
-
Prepare Your Pan: Grease a 9×5" bread pan with nonstick cooking spray. Line it with parchment paper, leaving enough overhang to aid in removing the caramels later. Give the parchment paper a light spray with nonstick cooking spray as well and set aside.
-
Melt the Cream and Butter: In a medium glass bowl, combine the butter and heavy whipping cream. Microwave this mixture for 1 minute and 30 seconds. Stir and allow the butter to melt completely.
-
Cook the Sugar Mixture: In a heavy-bottomed medium saucepan over medium heat, mix together the water and light corn syrup. Add the granulated sugar and stir well. Bring the mixture to a boil, covering it for one minute. This helps dissolve the sugar.
-
Monitor the Temperature: After one minute, remove the lid and insert a candy thermometer. Allow the mixture to cook, swirling occasionally, until it reaches 320°F.
-
Incorporate the Cream Mixture: Once at temperature, carefully pour in a small amount of the cream mixture. Stir continuously. Gradually add the remaining cream mixture, stirring after each addition.
-
Final Cooking Stage: Continue to cook the mixture until it reaches 240°F, which should take an additional 5-10 minutes.
-
Transfer to Prepared Pan: Quickly pour the hot caramel mixture into the prepared pan. Let it cool for about 30 minutes before sprinkling with coarse sea salt.
-
Cool Completely: Allow the caramels to cool for an additional 3-4 hours at room temperature.
-
Slice and Enjoy: Pull the cooled caramels out of the pan using the parchment paper overhang. Slice into 1" pieces, and enjoy every sweet, salty bite!
Best Ways to Enjoy It
While these salted caramels are delicious on their own, you can elevate your serving game in a few creative ways. Try packaging them in cute boxes for gifting, or serve them as part of a dessert table alongside brownies and cookies. Pair them with a rich cup of coffee or a glass of red wine for a truly indulgent experience!
Keeping Leftovers Fresh
Homemade salted caramels can be stored at room temperature for about 1-2 weeks. Place them in an airtight container, separating layers with parchment paper to prevent sticking. If you want to enjoy them for a longer period, you can freeze them! Just wrap each piece tightly in plastic wrap and place them in a freezer-safe bag or container.
Extra Advice for Success
When making caramels, precision is critical. Always use a candy thermometer to achieve the right temperature, which determines the caramels’ texture. Consider using a heavy-bottomed pan to ensure even heat distribution and avoid burning. If you don’t have a thermometer, a small drop of the mixture in cold water should form a soft ball when it’s ready.
Creative Twists and Variations
This classic salted caramel recipe can be adjusted to suit different tastes. Consider adding flavors like vanilla extract, espresso powder, or even a splash of bourbon for a unique twist. Sprinkle the tops with crushed nuts or drizzle with melted chocolate for an added layer of richness.
Your Questions Answered
How long does it take to make these caramels?
Preparation and cooking time takes about 45 minutes, with additional cooling time of about 4 hours.
Can I substitute heavy cream?
Yes, for a dairy-free version, you can use coconut cream or almond cream.
What’s the best way to serve them?
You can serve salted caramels on their own, or as part of a dessert platter, alongside coffee or hot chocolate!
With this guide, you’re equipped to create your very own batch of these delightful salted caramels. It’s a process rooted in patience and care, but trust me—the delicious results are well worth the effort. Happy cooking!

