Pumpkin Crisp is an autumnal delight that brings together the rich flavors of pumpkin and warm spices, all topped with a crumbly, buttery crust. This dish is perfect for cozy gatherings or festive dinners, and it captures the very essence of fall. I remember making Pumpkin Crisp for the first time on a chilly evening, the scent of cinnamon wafting through the kitchen, instantly creating a warm and inviting atmosphere. Every bite is a celebration of seasonal goodness, making it a beloved favorite for family gatherings, Thanksgiving feasts, or even a simple weeknight dessert.
Reasons to Try It
You might be wondering why you should whip up this Pumpkin Crisp in your kitchen, and the reasons are plentiful. Not only is this dish incredibly budget-friendly, utilizing ingredients you likely already have on hand, but it also serves as the ultimate crowd-pleaser. Its easy preparation means it’s perfect for last-minute gatherings, and its rich flavors make it suitable for any occasion, from holiday feasts to a cozy family brunch.
“Made this for Thanksgiving and it was a hit! Everyone raved about it, and it was so easy to make!”
Preparing Pumpkin Crisp
Making Pumpkin Crisp is a breeze, perfect for both beginner and seasoned bakers. To break it down, you’ll first create a silky pumpkin mixture, followed by a delicious crumb topping. The two components come together to create a delightful contrast in texture and flavor. Here’s a quick overview of the process:
- Mix the pumpkin filling until smooth.
- Prepare the crumb topping that adds a satisfying crunch.
- Bake until golden and delicious.
Now, let’s dive into what you’ll need!
What You’ll Need
To gather everything you need for this delicious Pumpkin Crisp, you’ll be looking for these key ingredients:
-
Pumpkin Filling:
- 1 can (15 oz) pumpkin puree
- 3/4 cup granulated sugar
- 1/4 cup brown sugar
- 2 large eggs
- 1 teaspoon vanilla extract
- 1 1/2 teaspoons pumpkin pie spice
- 1/2 teaspoon ground cinnamon
- 1/4 teaspoon salt
- 1 can (12 oz) evaporated milk
-
Crumb Topping:
- 1 cup all-purpose flour
- 3/4 cup old-fashioned oats
- 3/4 cup brown sugar
- 1 teaspoon ground cinnamon
- 1/2 cup chopped pecans (optional)
- 1/2 cup unsalted butter, melted
If you’re looking for substitutes, feel free to use maple syrup instead of granulated sugar for a deeper flavor, or almond flour instead of all-purpose flour for a gluten-free option.
Step-by-Step Instructions
Let’s get cooking! Here’s how to bring this delectable Pumpkin Crisp to life:
- Preheat your oven to 350°F (175°C) and lightly grease a 9×13-inch baking dish to prevent sticking.
- In a large bowl, whisk together the pumpkin puree, granulated sugar, brown sugar, eggs, vanilla extract, pumpkin pie spice, ground cinnamon, salt, and evaporated milk until the mixture is smooth. Pour this creamy filling into your prepared baking dish.
- In a separate bowl, combine the flour, old-fashioned oats, brown sugar, ground cinnamon, and pecans (if using). Pour in the melted butter and stir until the mixture becomes crumbly. Sprinkle this tasty topping evenly over the pumpkin filling.
- Bake for 45–50 minutes, or until the top is golden brown and the filling is set. Allow it to cool slightly before serving—if you can resist the delicious smell wafting through the air!
Best Ways to Enjoy It
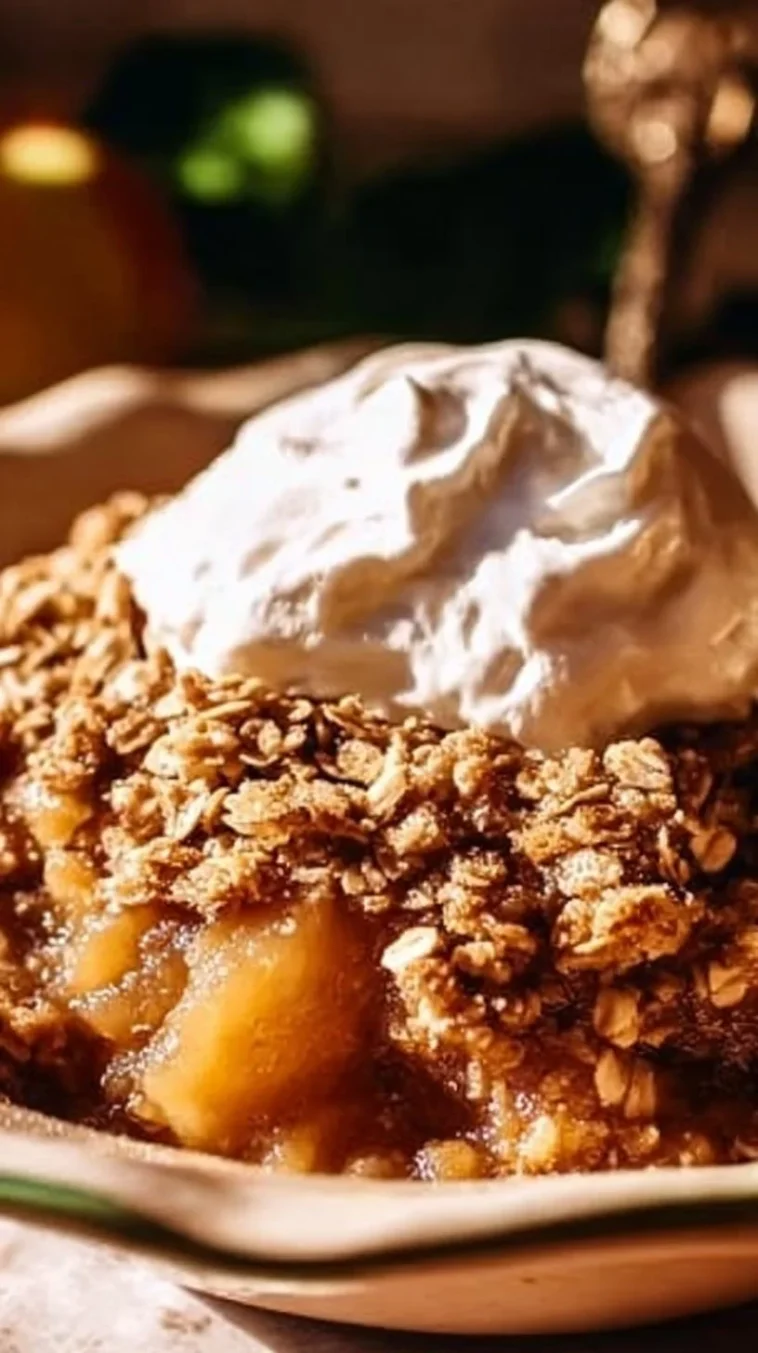
Now that your Pumpkin Crisp is out of the oven, how do you serve it? It’s absolutely delightful served warm with a scoop of vanilla ice cream on top, allowing the creaminess to perfectly balance the spiced pumpkin. For a lighter option, consider pairing it with whipped cream and a sprinkle of cinnamon. You can even elevate it with caramel sauce drizzled over the top for that extra indulgent touch.
Keeping Leftovers Fresh
What’s the best way to store your Pumpkin Crisp? If you happen to have any leftovers (which is rare!), cover them tightly with plastic wrap or foil and store them in the refrigerator for up to 4 days. To warm up, simply pop individual portions in the microwave for about 30 seconds or until heated through. If you plan to save it for longer, you can freeze portions in an airtight container for up to 3 months—just be sure to let it cool completely before freezing.
Pro Tips for Success
Here are some helpful tips to ensure your Pumpkin Crisp turns out perfectly every time:
- Use room temperature eggs for better mixing and a smoother filling.
- Consider adding a pinch of nutmeg to the filling for added depth.
- If you prefer a less sweet dessert, you can reduce the sugars slightly without sacrificing flavor.
- For a fun twist, try substituting the pecans with walnuts or almond slivers for a different flavor profile.
Creative Twists
Feel free to get creative with your Pumpkin Crisp! You could add chocolate chips to the filling for a decadent touch or swap out the spices for apple pie spices to switch up the flavor. Crushed ginger snaps can make a fantastic topping if you’re looking for a unique crunch. Vegan options are available too—try substituting the eggs with flaxseed meal mixed with water and the evaporated milk with coconut milk for a delicious dairy-free version!
Common Questions
What is the prep time for Pumpkin Crisp?
Typically, the prep time is around 15-20 minutes, making it a quick and easy dessert to whip up!
Can I make Pumpkin Crisp ahead of time?
Absolutely! You can prepare the filling and topping separately up to a day in advance and simply assemble and bake when you’re ready to serve.
How do I know when my Pumpkin Crisp is done?
It’s done when the top is golden brown and the filling has set—it should not jiggle when you gently shake the dish.
Can I substitute fresh pumpkin for the puree?
You can! Just ensure your fresh pumpkin is cooked and pureed to a smooth consistency before using it in the recipe.
There you have it! Whether you’re making it for a holiday celebration or simply to embrace the flavors of the season, this Pumpkin Crisp recipe will surely delight everyone at the table. Enjoy every buttery, spiced bite!